I love making my own homemade pumpkin puree. It’s so easy to churn out several cups’ worth of the stuff with just a little bit of work in the kitchen. I keep it in the freezer, then just pop it out whenever the hankering for a pumpkin goodie strikes. Which happens often (okay, daily) this time of year.
If you’d like to know how to make pumpkin puree, you’ve come to the right place! Below you’ll find a step-by-step with photos; you can also go straight to a one-page printable of instructions here.
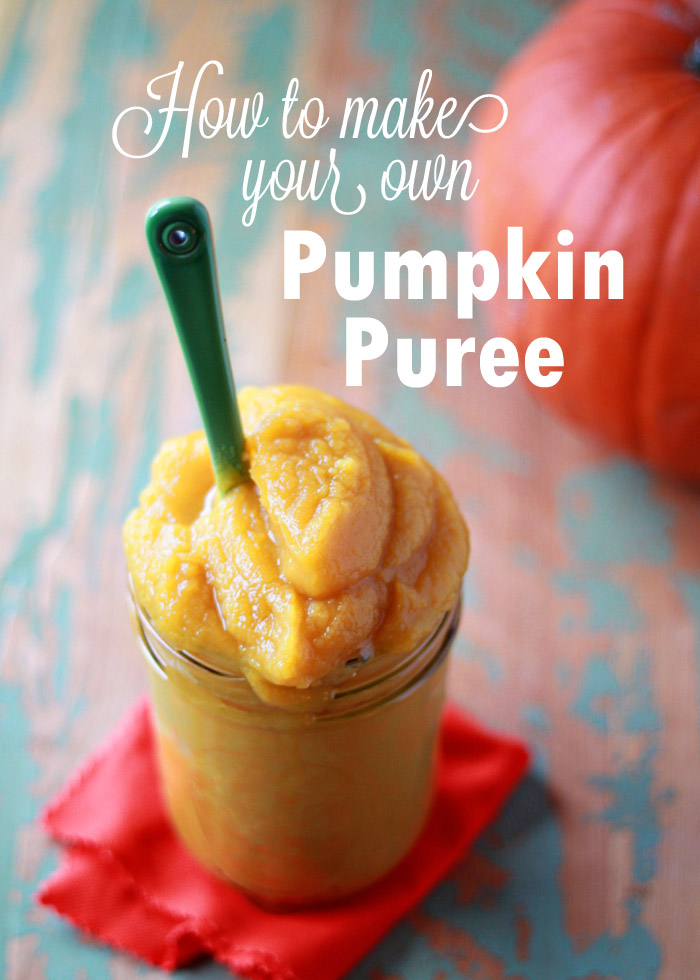
Ready? Here are the five steps to making your own pumpkin puree.
- Choose your pumpkin
- Prep your pumpkin
- Bake the pumpkin
- Peel off the skin and puree the flesh
- Use it now or freeze it for later
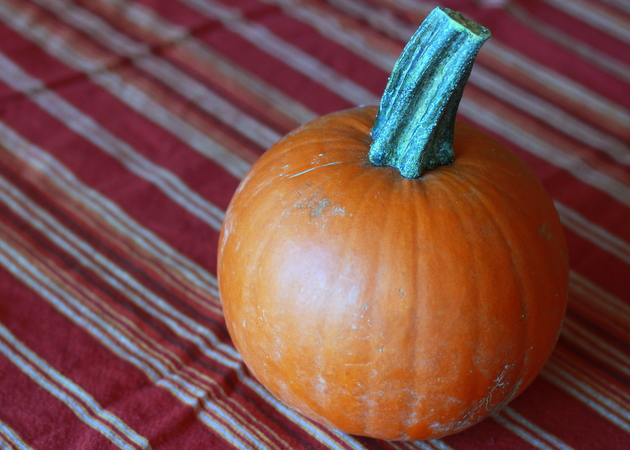
1. Choose Your Pumpkin
The best pumpkins for baking are usually called “sugar pumpkin” or “sugar pie pumpkin.” They’re usually about the size of a volleyball or slightly smaller, and usually average about 5 pounds. The flesh sweet and fine-grained so that it purees nicely. You won’t get great puree from a huge Jack-o-lantern style pumpkin, as they were bred for carving, not eating.
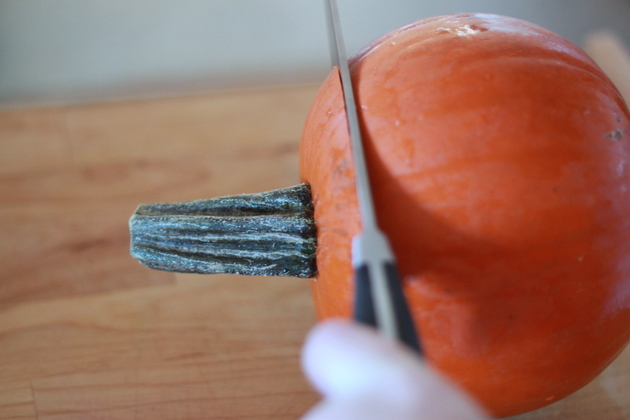
2. Prep Your Pumpkin
Rinse off the pumpkin, if necessary, and lop the top off.
Slice it in half.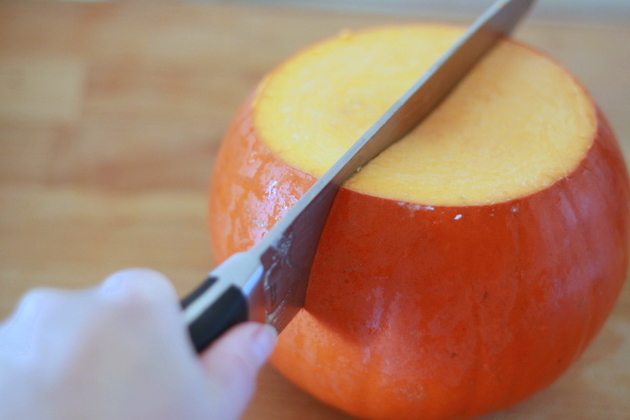
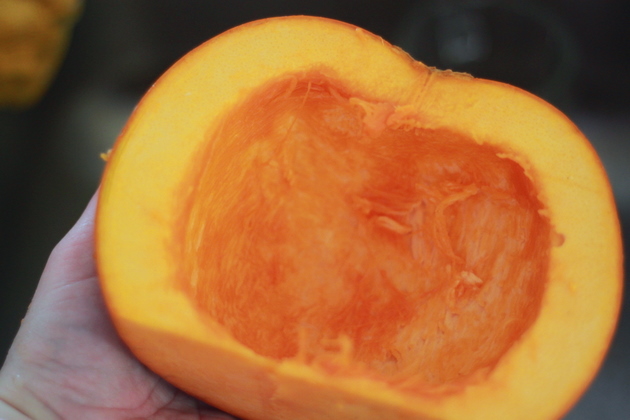
Scoop out the seeds. It’s okay if there are a few strings left. (Save the seeds and roast them up!)

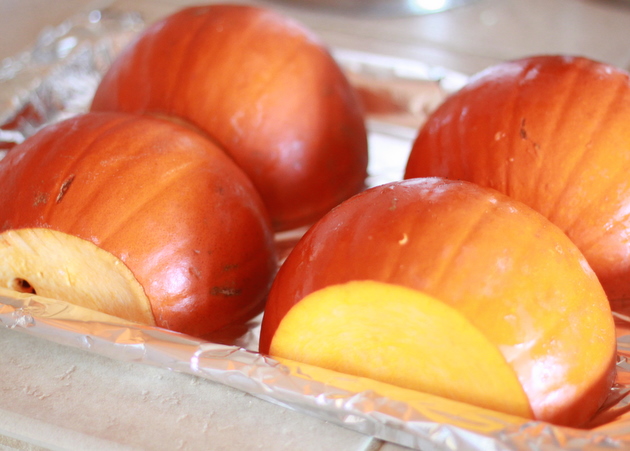
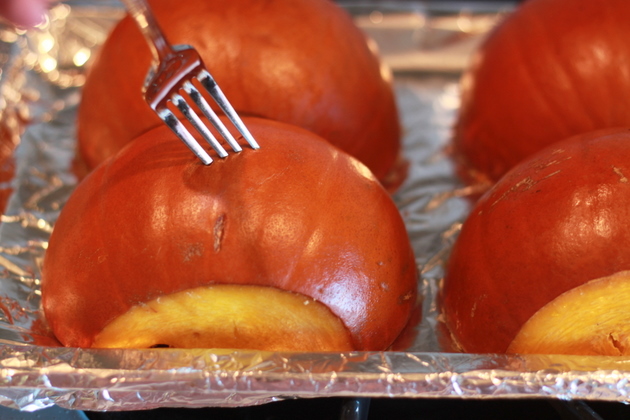
3. Bake the Pumpkin
Lay cut side down on a foil-lined baking sheet.
Cover with foil.
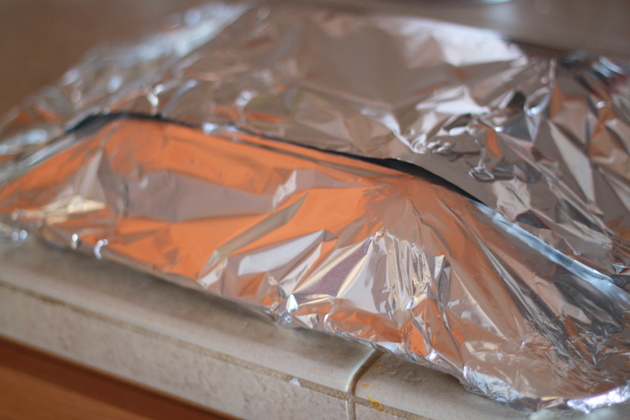
Bake for about 1 hour, or until a fork easily pierces the pumpkin.
Let cool for about 30 minutes, or until it can be easily handled.
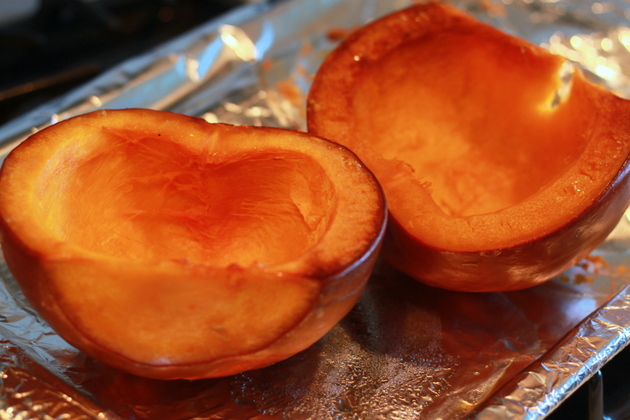
4. Peel off the skin and puree the flesh
When it’s cool enough to handle, peel off the skin. Depending on the pumpkin, sometimes it peels right off, and sometimes you need to scrape the flesh off with a spoon.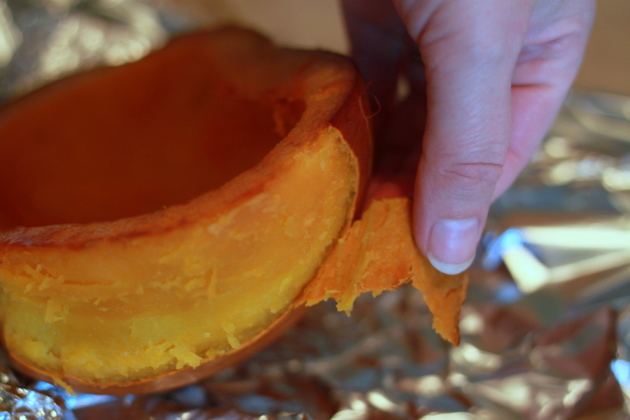
Oh, and this can be messy business – don’t say I didn’t warn ya!
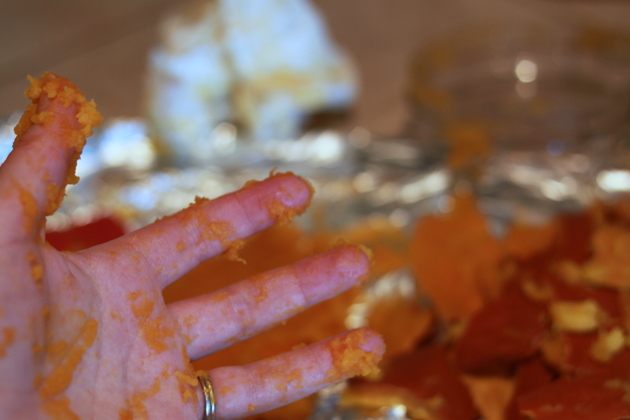
Place the pumpkin meat into a food processor or blender. I don’t have a big girl food processor yet, so I do a little bit at a time in my 4-cup food processor. It works!
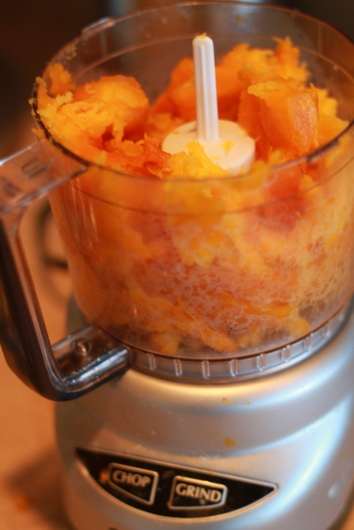
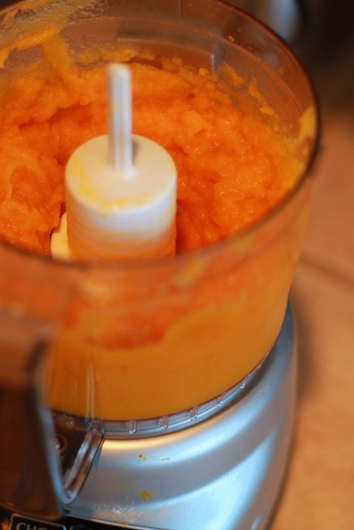
Pulse or blend the cooked pumpkin until it’s a smooth consistency.
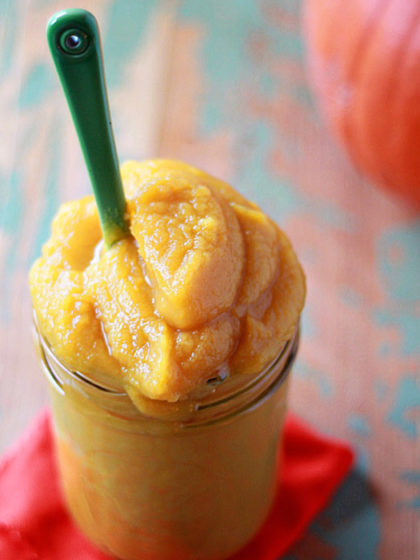
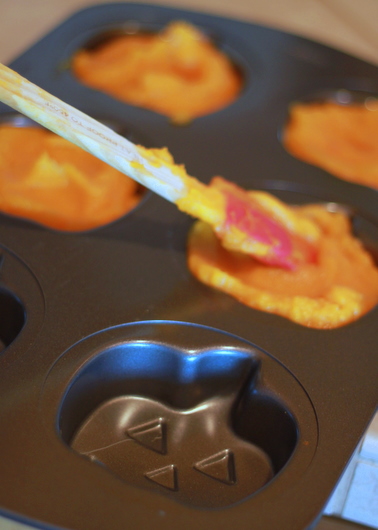
5. Use it now or freeze it for later
That’s it! Pureed pumpkin! I like to freeze it in 1/2 cup portions – and I even have a mini pumpkin cake tin that’s oh-so perfect. You can also scoop it into zipper freezer bags, carefully squeeze the air out, and smooth it flat for storage in the freezer. Easy peasy!

How to Make Your Own Pumpkin Puree
Ingredients
Equipment:
Instructions
 I’m so glad you’re here! I’m a vegetarian home cook, certified plant-based pro, and mom. I’m married to an enthusiastic carnivore, and my mission is to achieve peace in the kitchen – one tasty recipe at a time. These days, with a name like mine, I also try not to ask to speak to the manager.

Pingback: Pumpkin Dog Biscuits - The Hazel Bloom
Pingback: Pumpkin Pancakes with Buttermilk Caramel Syrup and Toasted Hazelnuts - The Hazel Bloom
Pingback: Foodbuzz 24x24: A Simply Washington Thanksgiving - The Hazel Bloom
Pingback: Crock Pot Pumpkin Butter - The Hazel BloomThe Hazel Bloom
Great baking technique. I thought I’d mention that another really easy way to cook the pumpkin is in a pressure cooker – specifically, an Instant Pot. A typical sugar pie pumpkin fits perfectly in the IP cooking pot. I wash the pumpkin, place it in the pot on a steamer rack, add a cup of water, and set it on Manual (high steam) for 20 minutes. When it’s done, I let the steam release naturally before opening the pot. I then leave the pot open and let it cool for a while – until I can handle the steamer basket – at which time I take the pumpkin out. I cut it open, scoop out the seeds and stuff, and scoop the flesh out of the pumpkin. It’s so easy because the skin just about falls off the pumpkin.
I will make one note: this method is great when you want to puree the pumpkin and store it. However, sometimes I just like baked pumpkin and take the time to do that because the flavor of the pumpkin is enhanced by its baking. But the IP is a great way to quickly get cooked pumpkin to puree.
Pingback: Whole Wheat Pumpkin Oatmeal Muffins - The Forked Spoon
Pingback: The Plant Based Mama