Who else out there is in love with Starbucks Pumpkin Scones? 🙋 Yup, right there with you.
I know, I know. There are so many “best ever” and “better than” claims out there. I’ve been an offender at other times too, though whenever I name a recipe in such a way, I tend to offer it up with a full arsenal of disclaimers. Which is kind of typically me. Disclaimer girl.

But here’s the deal with these Better-Than-Starbucks Pumpkin Scones.
Obviously I didn’t conduct a nationwide taste test, but I did conduct a family-wide taste test, and the results were unanimous: This recipe, while inspired by Starbucks pumpkin scones, resulted in a pumpkin scone that actually was preferred over Starbucks.
Like, I literally brought home a Starbucks pumpkin scone and sat it next to this homemade pumpkin scone recipe and we tasted both and the homemade version won hands down.
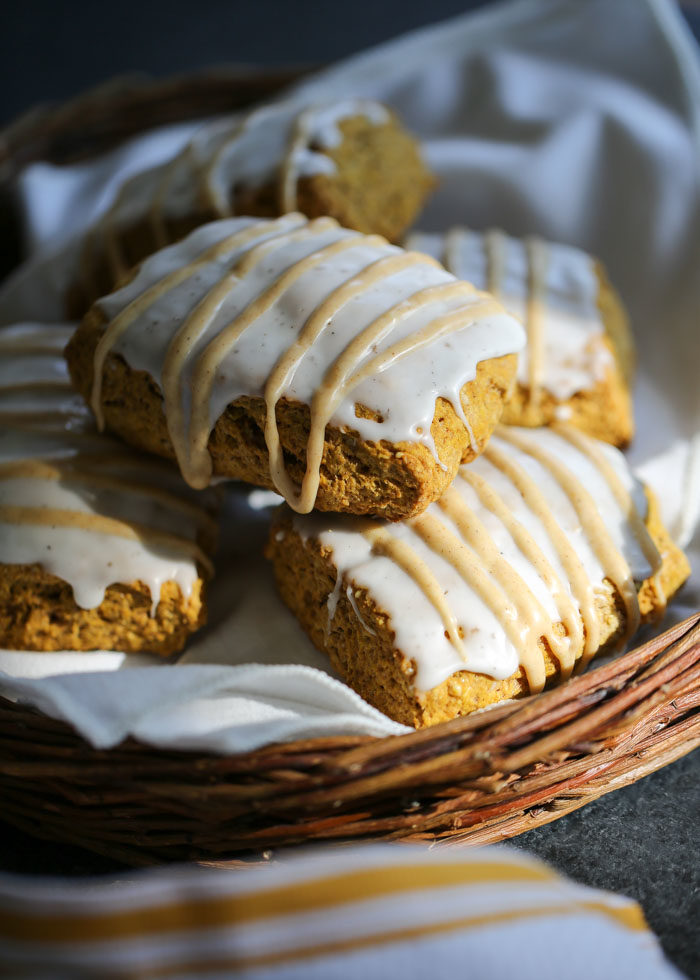
Now, I will say that I only set out to make a duplicate of Starbuck’s most popular scone because it’s fall and hello pumpkin. I also wanted it to be a dairy-free pumpkin scone recipe because I’m a dairy avoider these days. Do the coconut oil and coconut milk make these better than Starbucks, at least according to my family? I don’t know, I really don’t.
I just know these scones are the bomb. Dot com. Or something like that.
Tender, pumpkiny, indulgent – pumpkin spice and everything nice. And perfect with a cuppa first thing in the morning. (Cuppa = coffee, in case that was too obtuse. Or too obnoxious. Either way, I apologize).
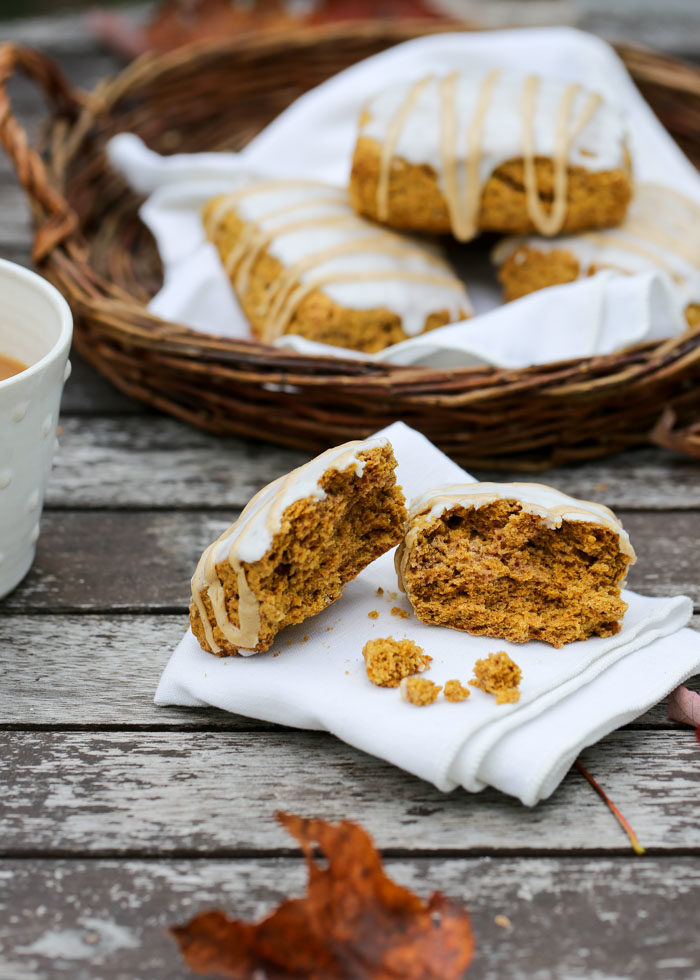
So here’s the key when you make scones: DO NOT OVERWORK THE DOUGH! Seriously, to keep your scones super duper tender, you practically mix the dough together on your countertop or whatever surface you’re shaping and cutting it on.
Here’s what I do.
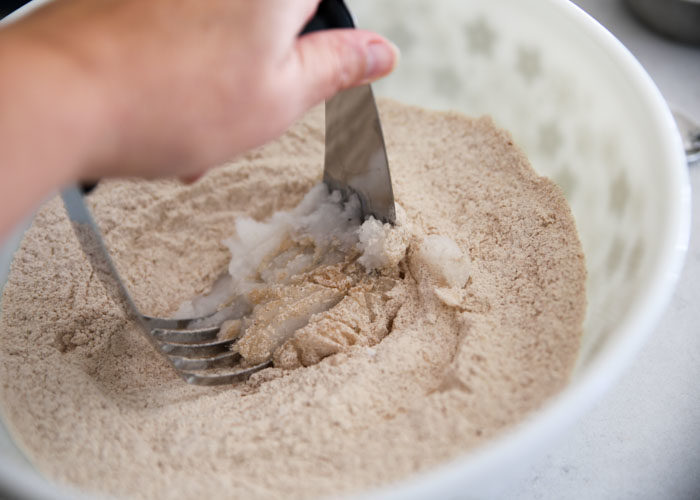
I mix the dry ingredients together, then cut the coconut oil in. I use a pastry blender, but you can use knives or your fingers.
Then I add the wet ingredients and work it together – just a little bit! In the bowl.
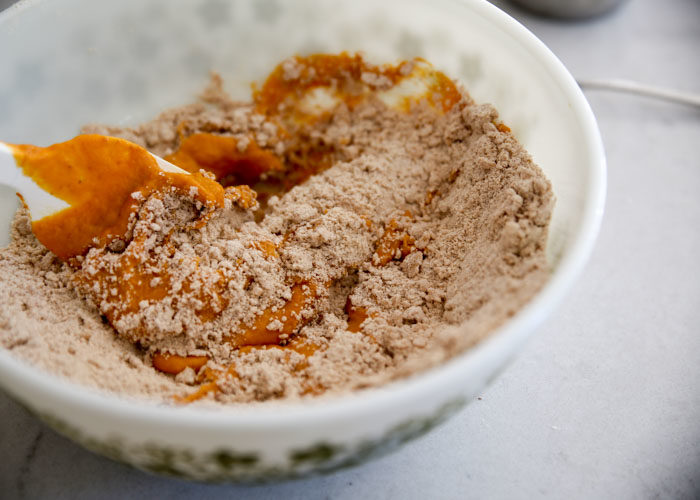
My process shots aren’t the prettiest, are they? Stay with me.
THEN I dump it on the (clean and slightly floured) countertop.
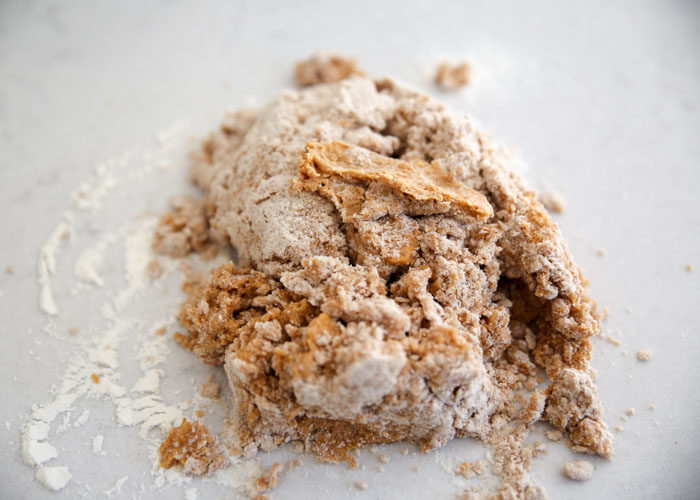
And then I work it together – only as much as I need to! And shape it. In this case, into a square. And then I cut into six rectangles.
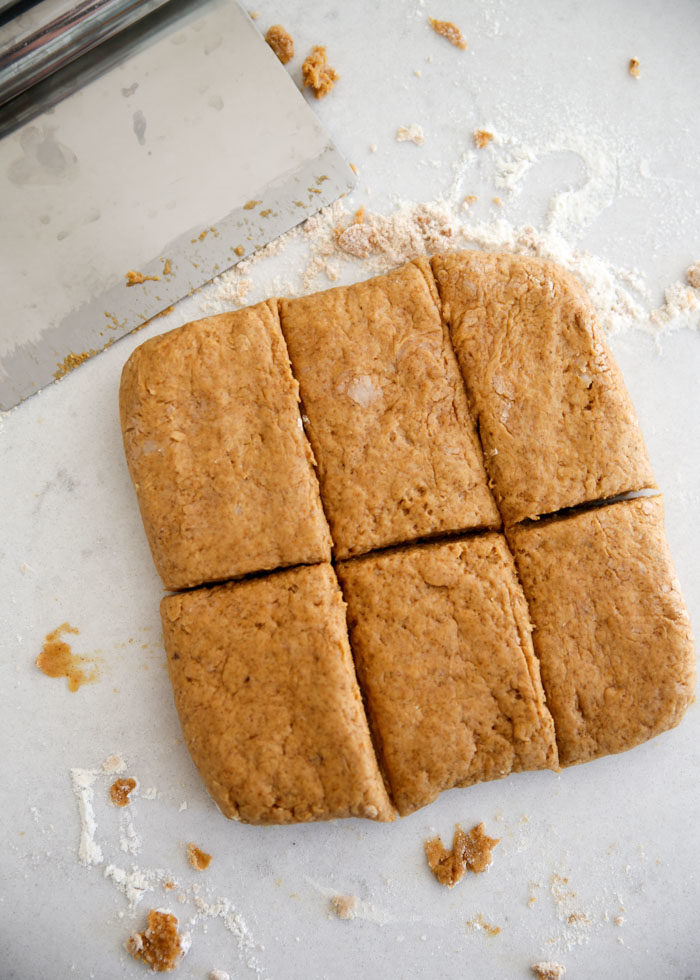
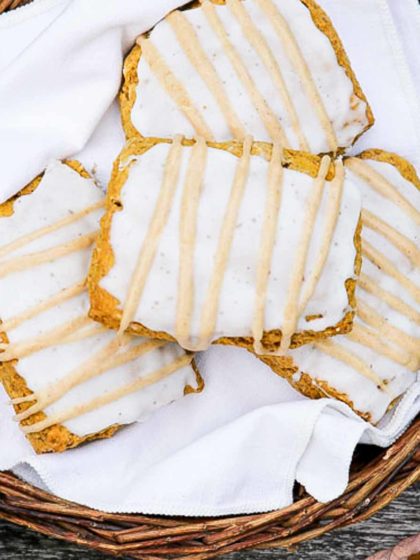
What shape are Starbucks pumpkin scones where you are? Here, they’re rectangular. So I made these copycats rectangular. But you can easily pat your dough into a round shape and cut your pumpkin scones into wedges. Totally fine! Whatever floats your scone! Or something like that.
After they come out of the oven, I let them cool. And then it’s about the glaze.
The double glaze situation is also a direct copy of what Starbucks does. For my pumpkin scone recipe, I brush with vanilla glaze then I doctor up what’s left with cinnamon and turmeric. Yep, turmeric. That’s how we get a bit of fall-ish color without having to resort to food coloring. Don’t worry, you can’t taste it.
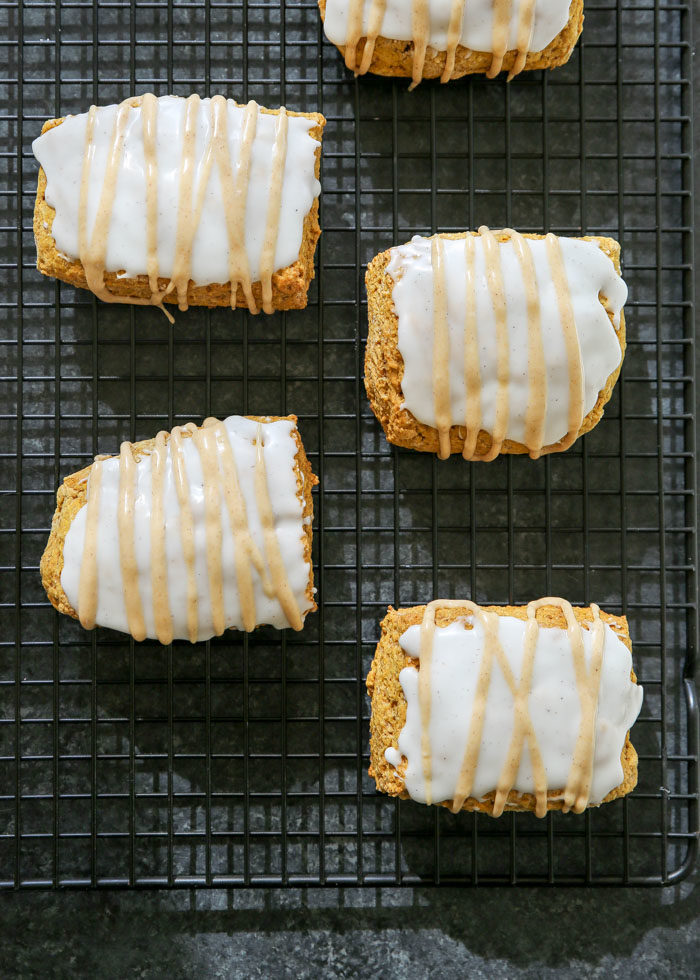
These are great to make ahead and freeze. Just refrain from adding the glaze until they’re thawed and ready to serve. I’m thinking Thanksgiving morning breakfast, are you? Okay, okay, fine. Let’s get through Halloween first.
If you try this recipe, please leave a rating! And, if you find it share-worthy – which I hope you do – please share. Tag #kitchentreaty on Instagram, Facebook, or Pinterest, and don’t forget to check out my other recipes!
Better-Than-Starbucks Pumpkin Scones
Ingredients
Pumpkin scones:
- 2 cups all-purpose flour (+ a little more for shaping/cutting)
- 1/2 cup granulated sugar
- 1/2 teaspoon fine-grain sea salt
- 2 teaspoons baking powder
- 1/2 teaspoon baking soda
- 2 teaspoons ground cinnamon
- 1 teaspoon freshly ground nutmeg
- 1/2 teaspoon ground ginger
- 1/4 teaspoon ground cloves
- 1/3 cup solid coconut oil*
- 1/2 cup canned pumpkin puree
- 1/4 cup full-fat coconut milk (see note**)
- 1 large egg
Vanilla icing:
- 1 cup powdered (confectioners sugar)
- 2 tablespoons water
- 1/2 teaspoon vanilla extract (vanilla bean paste, or vanilla bean powder)
Cinnamon icing:
- 3 tablespoons of the vanilla icing
- 1/4 teaspoon ground cinnamon
- 1/4 teaspoon ground turmeric
Instructions
- Preheat oven to 425 degrees Fahrenheit. Line a baking sheet with a silpat or parchment paper. Set aside.
- To a large mixing bowl, add the flour, sugar, salt, baking powder, baking soda, cinnamon, nutmeg, ginger, and cloves. Mix until combined.
- Plop in the coconut oil and, using a pastry blender (or two butter knives or your hands), work the coconut oil into the flour until the mixture resembles coarse crumbs.
- To a medium bowl, add the pumpkin puree, coconut milk, and egg. Whisk together.
- Pour the wet ingredients over the dry and, with a wooden spoon or spatula, mix JUST until it starts to come together. Turn the mixture out onto a clean surface prepped with a sprinkle of flour to help prevent sticking. Finish mixing and shape the dough into an approximately 1-inch thick, 7-inch by 7-inch square. It should be a bit wet but not overly sticky – add a bit more flour if it is.
- Cut the square in half and then each half into three rectangles.
- Transfer the rectangles to your baking sheet.
- Bake about 15 minutes, until puffed, lightly browned on top, and – I feel silly describing this – but how I really know is when they look a bit dry when you peer into the little cracks.
- Remove from oven and transfer to a wire rack. Let cool completely.
- Now glaze! In a small bowl, mix together the powdered sugar, water, and vanilla. Just keep stirring, just keep stirring, until the icing is a spreadable consistency. If it’s too thick, add a few more drops of water. If it’s too thin, add more powdered sugar. Transfer three tablespoons of the icing to a small bowl and set aside – this will be used for the cinnamon icing.
- Use a pastry brush to liberally spread the icing over the scones. If it seems a bit messy/thick at first, don’t worry – it’ll smooth on out and look divine momentarily.
- Now make the cinnamon icing. Add cinnamon and turmeric to the three tablespoons of reserved icing and mix well. Transfer to a plastic baggie and squeeze the icing to one corner. Snip off a tiny bit of the corner and squeeze the glaze over the top of the scones.
- Enjoy now or let sit for a bit longer to let the glaze harden.
- Scones keep well at room temperature for 3-4 days, though they definitely don’t last that long around here.



 I’m so glad you’re here! I’m a vegetarian home cook, certified plant-based pro, and mom. I’m married to an enthusiastic carnivore, and my mission is to achieve peace in the kitchen – one tasty recipe at a time. These days, with a name like mine, I also try not to ask to speak to the manager.
I made these this morn! Success!!! They’re awesome!!! I did a maple glaze with them! Thanks!
I’m so glad you like these scones! They’re definitely a favorite here. 🙂
I have been working to reduce the fat in recipes I make since Gallbladde-Gate. I’m thinking of trying this with more pumpkin, adding fat free yogurt and cutting back on the coconut oil. Colleen
Have you tried this recipe with gluten free flour? Just curious how it would turn out?
I have not, sorry. If you give it a whirl please report back!
What size can of pumpkin purée did you use? I’m not sure what half of what size your using.
Hi, it’s 1/2 cup of pumpkin puree, so can size doesn’t matter (though I usually have the 14-ounce size cans 🙂 )
Can you use carton coconut milk?
I’ve only tried it with canned; if you try the carton please report back!
I used carton full fat coconut milk, no problem.
I’ve made these three times now and they always turn out delicious! However I will say each time I make them the dough ends up being incredibly sticky and I have to add a significant amount of flour (typically about a quarter cup) before it’s the proper consistency to be handled. I also end up adding more confectioner’s sugar for the glaze than the recipe calls for, but I think this comes down to personal preference. Overall a great recipe once I figured out which little tweaks I needed to make! 🙂
OMG! These are seriously amazing,
As a starbucks addict living in rural America ( closest is 1.5 hrs away!), and who’s non-dairy these almost made me cry they were so good. Making them again tonight to make sure I have enough for this week,
I used real cooked pumpkin from a local farmer which made these even more yummy!
I’m so glad these were a hit for you! I love that you leveled up with pumpkin from a local farmer … yum! Thanks so much for coming back and leaving a review.
Loved it! Super easy and delicious!! I needed a decent amount more flour- maybe an extra half cup- to get the right consistency. But I also think I added a little too much pumpkin. I used butter instead of coconut oil (same amount) and they turned out fabulous!
I’m so glad these were a hit for you! Thank you so much for coming back and leaving a review.
This looks so good! What a great way to save money and have a whole batch!
Thanks for sharing! Does it keep long?
These are fabulous! I have to have gluten AND dairy free for my family, so I subbed out Bob’s Red Mill 1:1 flour (in the blue package) with some extra Xanthan gum and baking powder. I have pictures on my Instagram page. Moist, flavorful, delicious
Phenomenal.
The title is right. These are better than Starbucks. They definitely need more flour than listed because they are otherwise too gooey to cut and you’re better off making them drop scones. I used chopped candied ginger rather than powdered, andI increased the flour to 1/2 to 3/4 cup! Came out delicious but I’ll add the extra flour at the start next time to avoid over-handling the dough.
Made with gluten free flour and flax egg…turned out wonderfully! I did find adding 1/4c extra of the GF to the dry mix helpful. A winning recipe for fall! Thank you
This looks so good! What a great fall treat to make for friends!
Thanks for sharing! Does it freeze well?
This looks so good! What a great combination of flavors!