Chia seeds are such amazing little things, and chia seed jam is just one magic recipe you can make with these little powerhouses.
Packed with omega-3s, chia seeds can soak up about 10 times their size and weight in liquid. Which is not only intriguing, but convenient, too! Because they develop a gelatinous coating after soaking in all of that liquid, and that makes chia seeds a most excellent thickener.
Just look to this plant-based powerhouse when you want to create a unique and healthy spin on puddings, smoothies, and – yep, you guessed it …
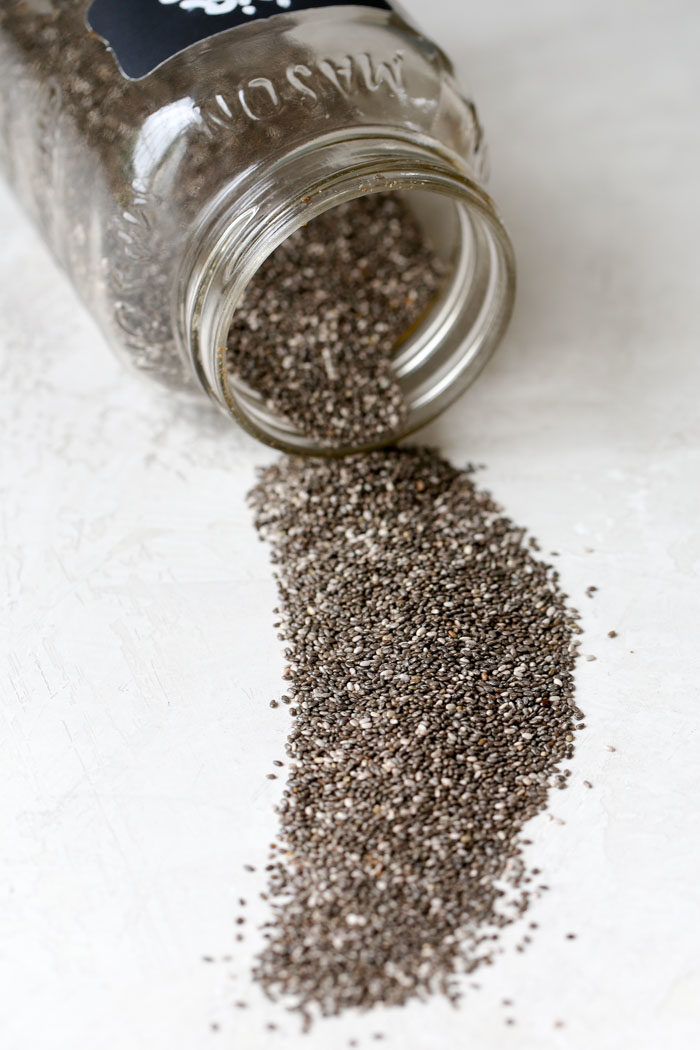
Chia Seed Jam!
ESPECIALLY jam.
Why Try Making Chia Seed Jam?
Chia seed jam is one of my favorite ways to enjoy summer berries and stone fruits.With just fruit, a surprisingly small amount of sweetener, and chia seeds, you can make a delicious and healthy “jam” that you can enjoy now or stash in the freezer for later.
No pectin, no hours of stirring, no cup after cup of sugar, no praying to the jam gods that your batch doesn’t fail. (In fact, it doesn’t need any sugar at all to gel!)
If you’ve never made it before, you might just be shocked and awed by chia seed jam and all of its awesomeness.
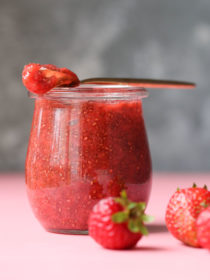
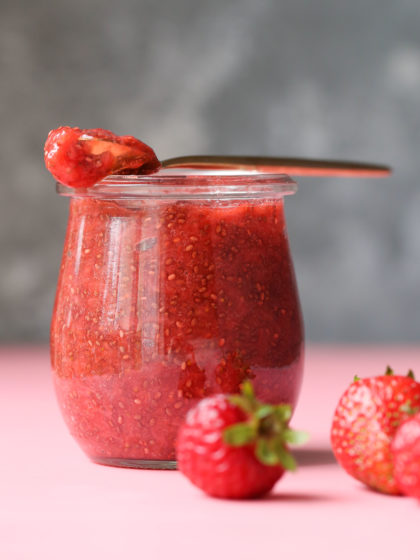
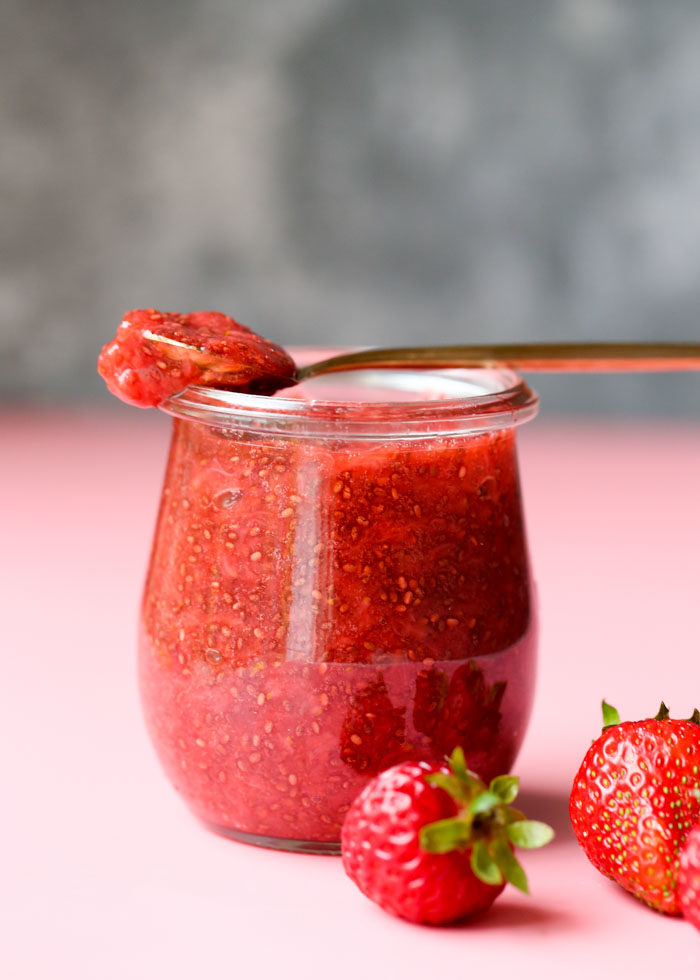
The only downside is, in my opinion, the fact that you can see the chia seeds in it – that might bother a few folks. That photo above, for instance, is strawberry chia seed jam. It looks like raspberry jam with those seeds, but nope!
One thing you can do is puree your jam to help smooth it out a bit. But here in our house, we don’t mind the seeds.
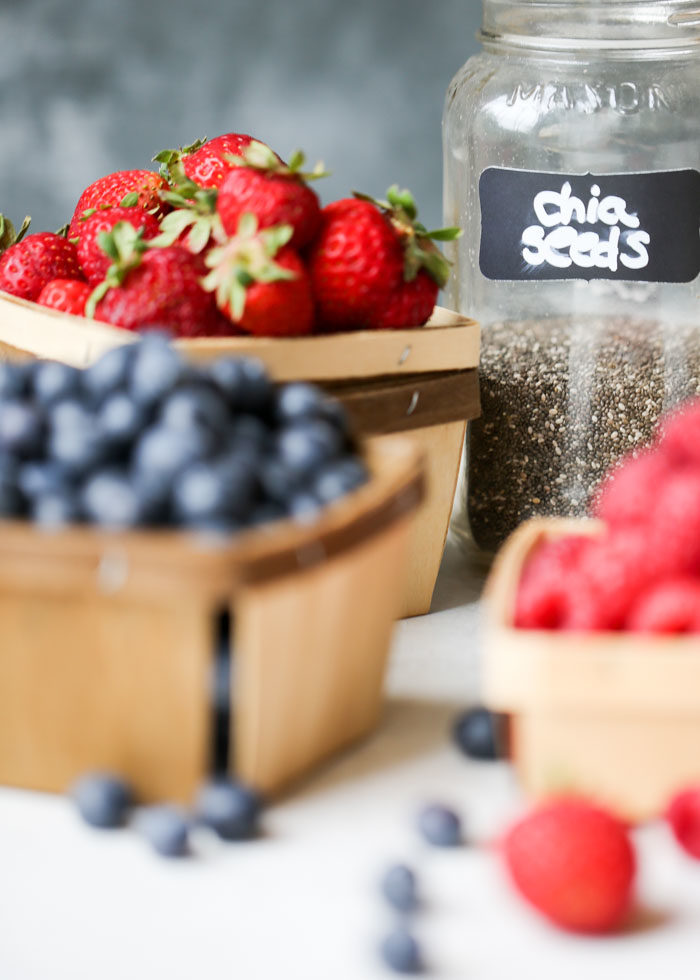
So are you ready to learn how to can make chia seed jam? Let’s do this thing! First, I’ll share my basic formula for chia seed jam; then, I’ll break it down step-by-step.
The Formula for Chia Seed Jam
The general formula I start from when making chia seed jam is:
- 1 pound fruit
- 1/4 cup sweetener (optional)
- 2 tablespoons chia seeds
From there, I might add a bit more sweetener or more chia seeds to get the right sweetness and thickness. It all depends on the type of fruit you use, but this formula always gets me pretty close.
Step-by-Step Guide to Making Chia Seed Jam
1. Prepare Your Fruit
Sort through your fruit or berries and make sure it’s in good shape – not underripe or past its prime. Wash, hull, and quarter strawberries if you like; clean blueberries and discard any stems; peel, pit, and dice stone fruit. You get the gist.
2. Cook the Fruit
Add your fruit of choice and sweetener (if using) to a pan over medium heat. I like adding about 1/4 cup of honey or pure maple syrup per 1 pound of fruit as mentioned above. You can start with no sweetener at all if you think your fruit is sweet enough and add it later on too, but if the fruit seems too dry on its own, just add a small splash of water to get the cooking process going. (Have I mentioned this jam is super unfussy?)
Bring the fruit to a boil and let it cook until it liquifies, about 5 to 15 minutes, depending on the fruit. If needed, carefully mash the fruit with a potato masher or fork until it’s at a consistency that looks good to you.
At this point, you can taste your jam and see if you want to add a bit of sweetener. Add it in and stir until it tastes just right. And then …
3. Add Chia Seeds
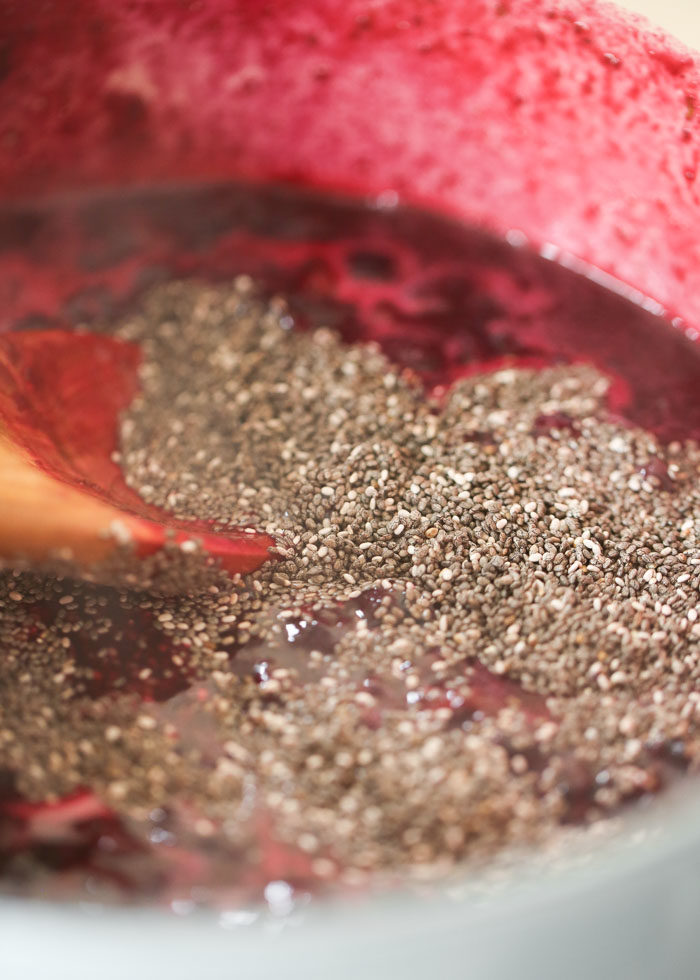
Stir in two tablespoons of those glorious chia seeds and remove from the heat. And then? Just let it sit so that the chia seeds can work their magic, transforming into an incredible fruit spread.
After about 10 minutes, your chia seed jam should have thickened up fairly well (and keep in mind that it will continue to thicken as it cools). But if the jam seems a bit thin, just add another tablespoon of chia seeds and let it sit for another 10 minutes until thick. Don’t worry – it’s really hard to screw this stuff up!
4. Cool, Store, and Enjoy!
Eat your chia seed jam just like you would any other jam. I love a dollop of chia seed jam on top of my oatmeal or swirled into yogurt.
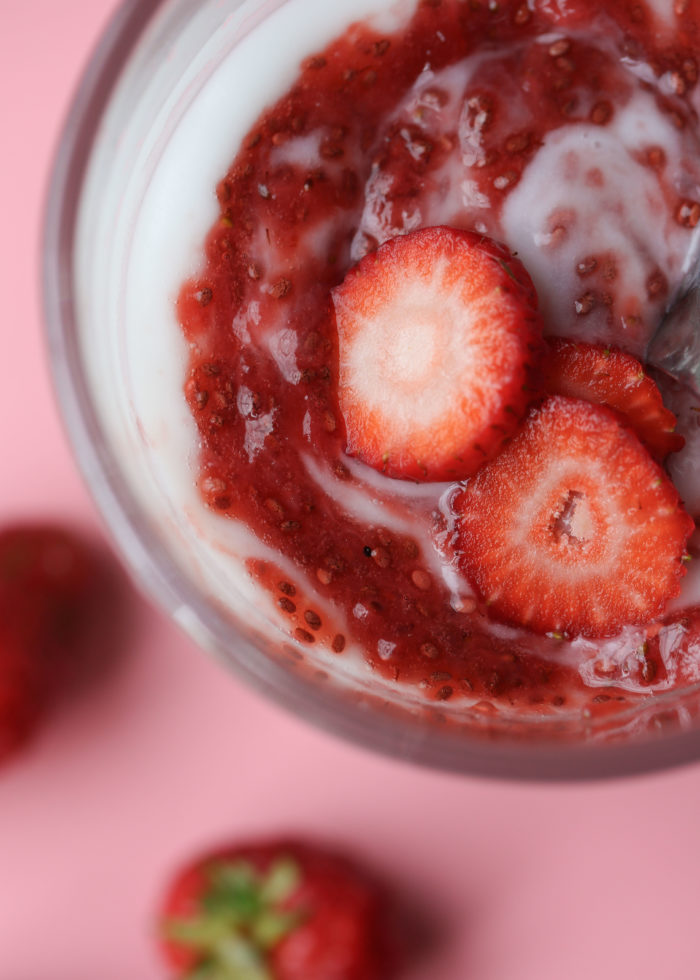
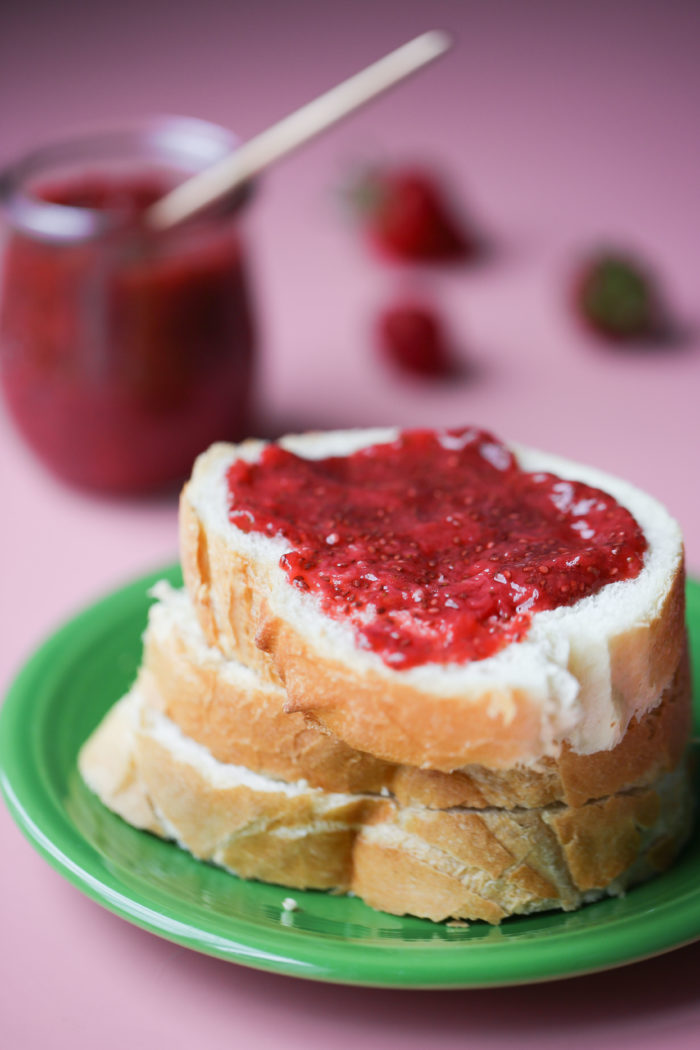
And, of course, slathered on a big ol’ slice of bread.
Yummm.
To store your jam, place it in an airtight jar with a lid and refrigerate for up to two weeks.
And that’s it! Are you a convert like I am? I’d love to hear how you like it – scroll on down and leave a comment and rating below!
And here’s the printable recipe.
Chia Seed Jam
Ingredients
- 1 pound fruit (strawberries, blueberries, blackberries, raspberries, plums, pears, peaches, or a mix!)
- 1/4 cup sweetener of choice (I like honey, pure maple syrup [grade A], and agave syrup more or less to taste*)
- 2 tablespoons chia seeds
Instructions
- Clean fruit, removing stems/seeds as needed, and cutting into smaller pieces if large.
- Place a medium saucepan over medium heat. Add the fruit and sweetener (if using – start with a little; you can always add more later). If you’re not using sweetener and your fruit is relatively dry, try adding a small splash of water to get the fruit going.
- Heat fruit, stirring occasionally, until it comes to a boil. Let it continue to boil until it begins to break down and form a sauce, 5-15 minutes depending on your fruit. If nccessary, carefully mash fruit with a fork or potato masher until it reaches the consistency you’d like.
- Taste and add more sweetener if desired, a little at a time.
- Stir in the chia seeds and remove from heat. Let sit until thick, about 10 minutes. If it seems a little too thin, stir in another tablespoon of chia seeds and let it sit for another 10. minutes. (Keep in mind that he jam will continue to thicken as it cools.)
- To store, place in an airtight container and refrigerate for up to two weeks. Can also be frozen for up to two months.


 I’m so glad you’re here! I’m a vegetarian home cook, certified plant-based pro, and mom. I’m married to an enthusiastic carnivore, and my mission is to achieve peace in the kitchen – one tasty recipe at a time. These days, with a name like mine, I also try not to ask to speak to the manager.
Well I just can’t wait to make this !!! Thank You so much for the recipe and all the little information you’ve added.
Love your chia jamming. Great idea ! Thank you !
I am so excited to try this. I just made a chocolate chia pudding and will try it tomorrow